First of all, if you don't know what DNS is, click here.
If you want to speed up your internet without buying a faster speed plan, one of the ways to do that is to use Google Public DNS.
Google Public DNS enables your computer to fins IP addresses much faster that it would using your provider's DNS.
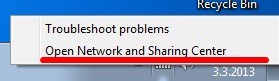
First click on the Wireless or Ethernet icon in the taskbar (assuming you're using Windows 7) and click on Open Network and Sharing Center.
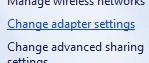
Once a big window opens click on Change adapter settings on the left side like it's shown in the picture.
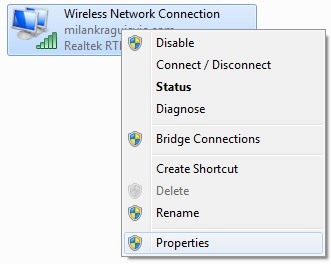
Then right click on your Internet connection (either Ethernet or Wireless, I'm using Wireless in this example) and select Properties.
In the newly open window select Internet Protocol Version 4 (TCP/IPv4) and then click on Properties.
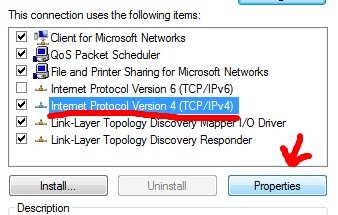
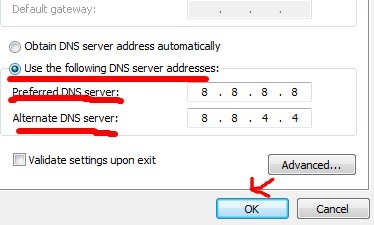
Then click on item Use the following DNS server addresses and as Preferred DNS server enter 8.8.8.8, and as Alternate DNS server enter 8.8.4.4 and click on OK.
Then you need to restart your computer for changes to take effect. If you did something wrong, and you can't connect to the Internet just come back to the last window and select Obtain DNS server address automatically.
